Last Updated on December 14, 2020
The new Facebook Messenger Customer Chat Plugin is an improve experience for website owners (business, ecommerce and blogs) to provide an easy conversation between their website visitors into their Page Messenger.
Earlier, Facebook Messenger customer chat plugin was exclusively on a closed beta mode to allow people to chat with businesses on their websites and in Messenger.
Unlike other Live Messenger chat integration for WordPress publishers, Facebook Messenger Customer Chat Plugin provides a persistent chat experience that floats along the bottom right of the screen which you have the option to either enable minimize on Desktop and Mobile view.
How do you enable Facebook Messenger Customer Chat Plugin?
Before getting started with Messenger Customer Chat Plugin, there are few things you need to get standby. They are;
- Install Facebook SDK on your website
- Your Page APP ID
- Your Page ID
Getting started to installing Facebook Messenger Customer Chat Plugin
#1. Install Facebook SDK on your website
The SDK, social plugins and dialogs work on both desktop and mobile web browsers. Click here for basic Facebook SDK setup or copy the below SDK snippet;
To be added in the header section
[code lang=”js”]
<script>
window.fbMessengerPlugins = window.fbMessengerPlugins || {
init: function () {
FB.init({
appId : ‘YOUR_APP_ID_HERE’,
autoLogAppEvents : true,
xfbml : true,
version : ‘v2.10’
});
}, callable: []
};
window.fbAsyncInit = window.fbAsyncInit || function () {
window.fbMessengerPlugins.callable.forEach(function (item) { item(); });
window.fbMessengerPlugins.init();
};
setTimeout(function () {
(function (d, s, id) {
var js, fjs = d.getElementsByTagName(s)[0];
if (d.getElementById(id)) { return; }
js = d.createElement(s);
js.id = id;
js.src = "//connect.facebook.net/en_US/sdk/xfbml.customerchat.js";
fjs.parentNode.insertBefore(js, fjs);
}(document, ‘script’, ‘facebook-jssdk’));
}, 0);
</script>
[/code]
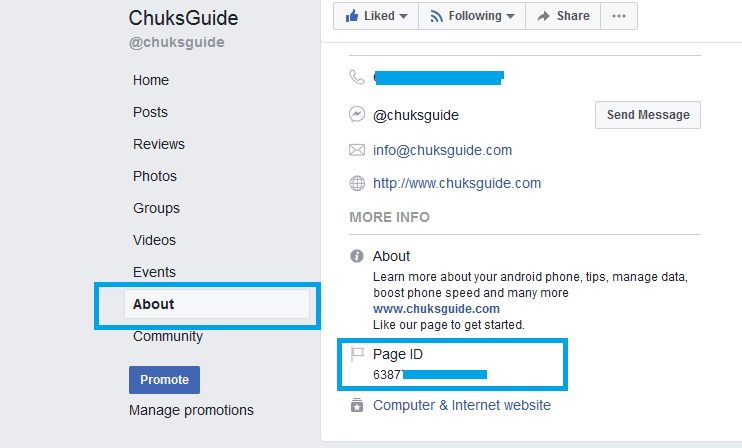
To get find your Facebook Page ID, then follow the step below;
- Go to your page
- Click ” About “
- Scroll down to bottom
You can see ” Facebook Page ID ”
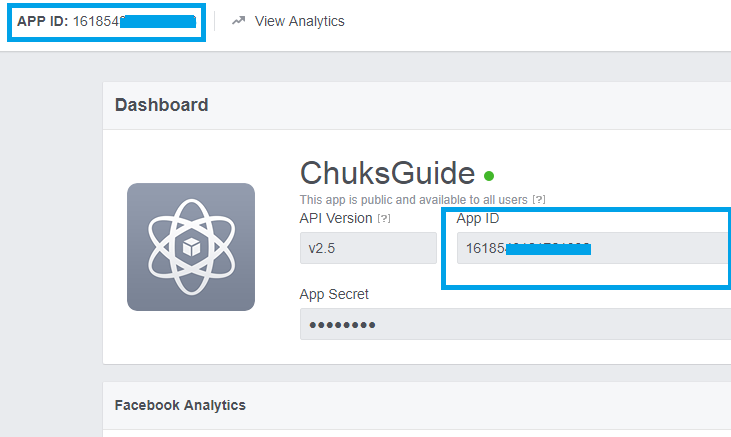
To find your Facebook Page APP ID, then follow the steps below
- Visit developers.facebook.com
- On the Menu, hover over to My Apps
- Select your Facebook page you would like to enable Messenger Customer Chat Plugin
- The first page to load, contains your Facebook Page ID
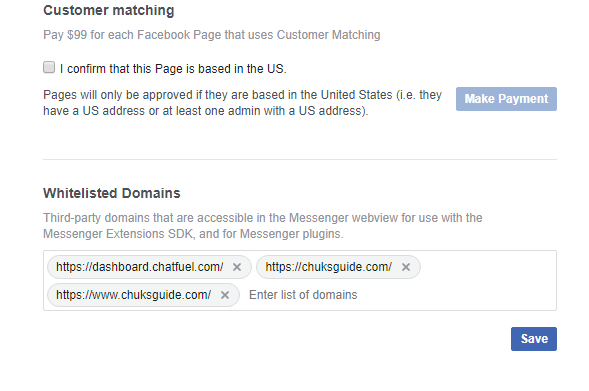
#2
Whitelist your domain to connect your Facebook Page to your website via the Facebook tool . Page Settings > Messenger Platform > Whitelisted Domains
#3 Include a div with the following attribute in your HTML body:
[sourcecode language=”plain”]
<div
class="fb-customerchat"
page_id="YOUR_PAGE_ID_HERE"
ref=""
minimized="false">
</div>
[/sourcecode]
Replace YOUR_PAGE_ID_HERE and APP_ID with their actual values.
How To Enable Facebook Messenger Customer Chat Plugin on your WordPress site
- Login to your WordPress Dashboard
- Install header and Footer inserter plugin
- Insert the generated SDK and HTML into the body of your website
- Then save
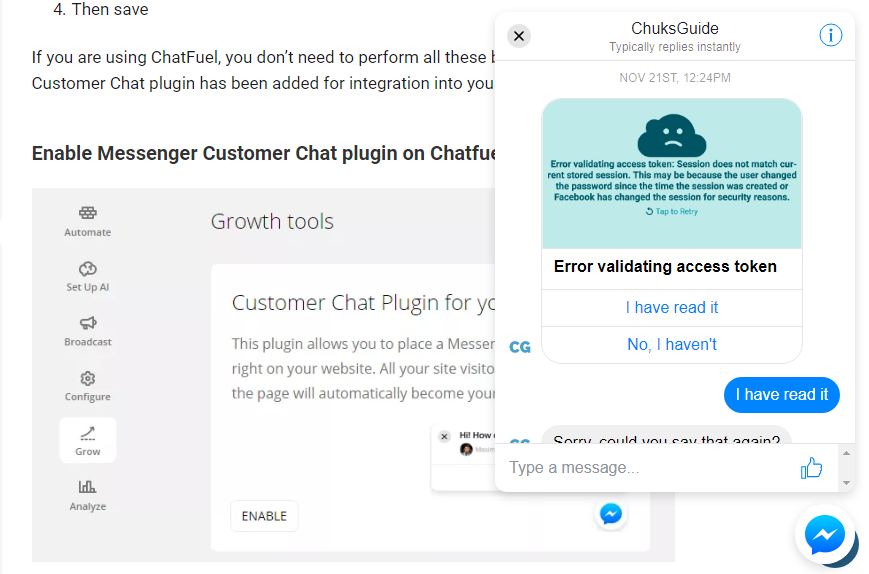
If you are using ChatFuel, you don’t need to perform all these because Messenger Customer Chat plugin has been added for integration into your website.
Enable Messenger Customer Chat plugin on Chatfuel
- Login to Chatfuel
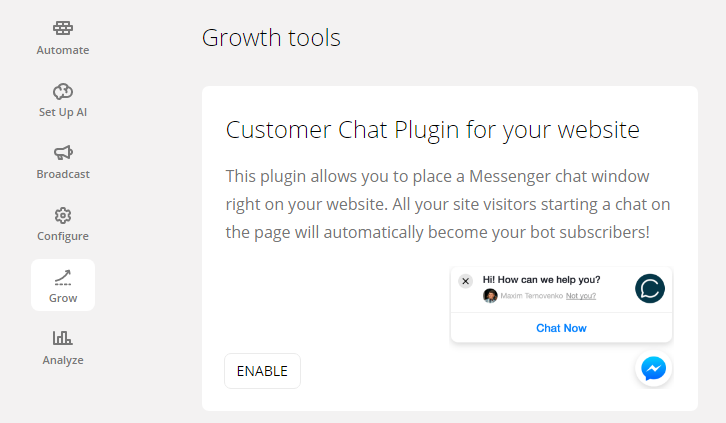
- Click Grow
- Under Customer Chat Plugin for your website, Click Enable
- Configuring Chatfuel Messenger Customer Chat enabler
- Website domain – Your website to enable Messenger Chat
- REF Parameter – It is an optional feature to track how many users are referred from your Messenger chat plugin. You can now see the statistics of which users enters your Messenger chat through the ref source.
Refresh your website, your Customer Chat Plugin should be loaded on your website.
